Most problems in a wire harness program start on paper. A missing connector part number, a length with no tolerance, or a wire list that does not match the drawing will turn into questions, delays, or parts that do not fit. Good wire harness design gives the manufacturer everything needed to build the same harness every time, without guessing.
This guide walks through the decisions that shape a harness and what belongs on the drawing you send out for a quote. If you need a refresher on the basics first, see how wire harnesses and cable assemblies differ.
Start with the electrical requirements
Every wire harness design begins with the circuits it has to carry. For each one, list the current, the operating voltage, and the type of signal: power, low-level analog, digital data, or high frequency. That information drives the wire gauge, decides which circuits need shielding or twisting, and shows which ones should be kept apart to avoid noise.
Voltage drop deserves a quick check on long runs. A gauge that is fine for a short jumper can be too small for the same current over several meters.
Choose wire, insulation, and connectors for the environment
The environment often matters as much as the electrical load. Temperature range, oil or chemical exposure, moisture, vibration, and flexing all narrow the choice of materials. PVC insulation is common and economical; cross-linked polyethylene and fluoropolymers handle higher temperatures and harsher chemicals. Fine stranding helps where the harness moves.
For connectors and terminals, specify exact manufacturer part numbers, including the housing, terminals, seals, and any secondary locks. If you accept equivalents, say so and list the approved alternates. This one detail prevents more quote delays than any other, especially when a part is on long lead time.
Plan the routing, lengths, and breakouts
A harness is built on a formboard that mirrors its final shape, so the layout on the drawing should match how it will sit in the product. Dimension each branch from a clear reference point and give each length a tolerance. Tight tolerances add cost, so use them only where the fit really depends on it.
Think about where the harness will bend, how it will be clamped, and what edges it passes near. Leave service loops where a connector needs slack for installation or maintenance, and avoid bend radii so tight that they stress the conductors or the insulation.
Protection, identification, and splices
Decide how each section is covered: convoluted tubing, braided sleeving, tape, or heat shrink. Each option trades off abrasion resistance, flexibility, weight, and price. Mark where coverings start and stop, and where a grommet or strain relief is needed.
Identification makes installation and service easier. Specify wire colors or printed wire markers, connector labels, and the text and position of any part number label. Keep splices to a minimum and show their location and type on the drawing, since each one is a joint that must be made and inspected.
What a complete wire harness drawing includes
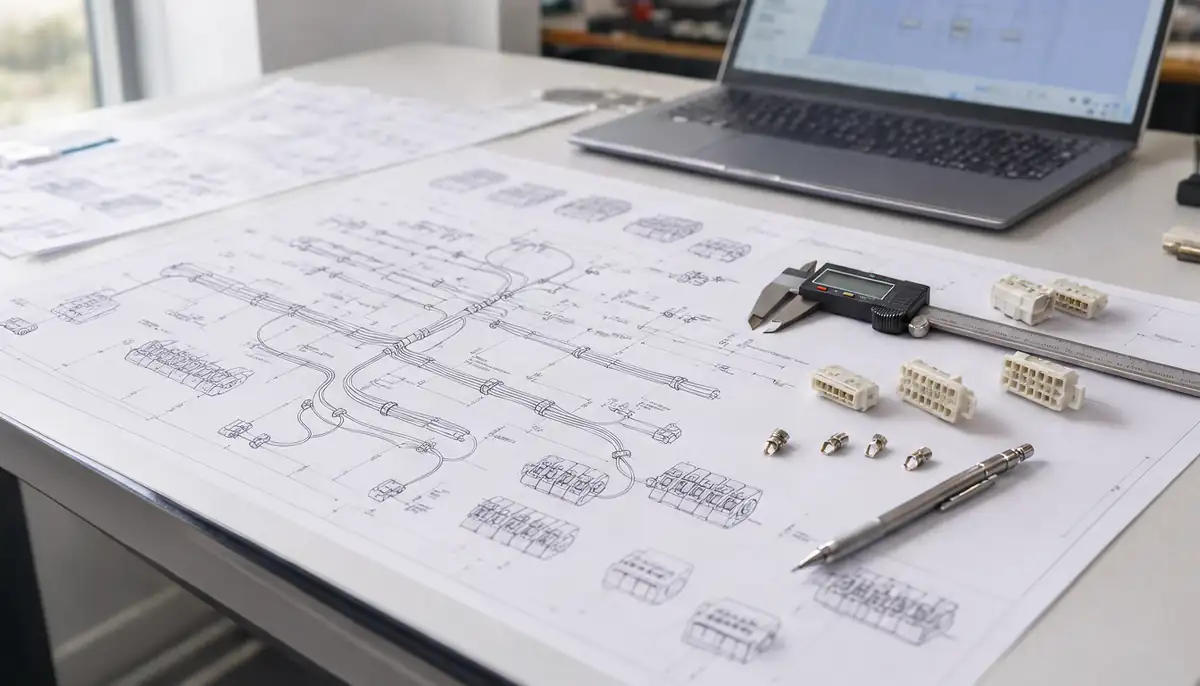
A wire harness drawing is the document the manufacturer quotes and builds from. A complete one usually has these parts:
- A title block with part number, revision level, and date
- The harness layout with branch lengths, tolerances, and breakout points
- Connector views showing the pin numbering from the mating side
- A wire list, also called a from-to list, with wire number, gauge, color, and both end points
- A bill of materials with manufacturer part numbers and approved alternates
- Notes for the workmanship standard and class, such as IPC/WHMA-A-620, labeling, and packaging
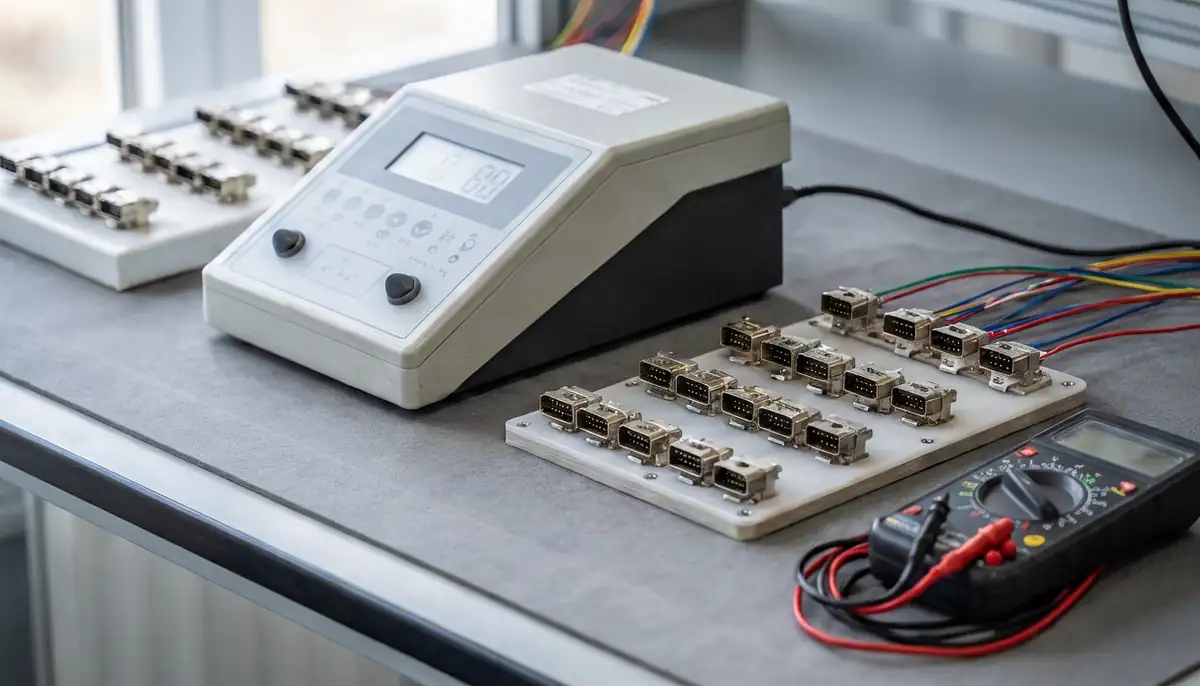
- Test requirements, such as continuity, hipot, or functional checks
The wire list and the layout must agree with each other. When they do not, the build stops until someone confirms which one is right.
Design for manufacturing and testing
A few habits make a harness easier and cheaper to build without changing what it does:
- Reuse the same terminals and wire gauges across the harness where possible, so fewer tool changes are needed.
- Use connectors with keying or different sizes so they cannot be plugged into the wrong place.
- Choose components that are widely available, and avoid parts near the end of their life cycle.
- Make every circuit reachable from a connector so it can be tested electrically.
- State the test requirements on the drawing instead of leaving them to be defined later.
Testing is easier to plan when it is part of the design from the start. A separate guide to wire harness testing methods explains what each test checks and when it is used.
Common mistakes that slow down a quote
| Mistake | What happens | How to avoid it |
|---|---|---|
| Generic connector descriptions | The supplier has to guess or ask, and the price may not match the part you expect | List exact manufacturer part numbers and approved alternates |
| Lengths without tolerances | Each supplier applies its own assumption | Add a tolerance to every length or a general tolerance note |
| Wire list and layout disagree | The build stops until the conflict is resolved | Review both together before each release |
| No revision control | Old and new versions get mixed | Update the revision level and date with every change |
| Missing test requirements | Quotes compare different levels of testing | State the required tests and limits on the drawing |
Working with a manufacturer on the design
Some companies arrive with a finished drawing. Others have a prototype, a sample, or only a schematic. An experienced harness builder can work from any of these, turning a sample into a documented drawing or suggesting changes that make production easier while keeping the electrical function the same. If you are comparing suppliers for wire harness manufacturing, ask how they handle design reviews and who approves changes before production begins.
Frequently asked questions
What is a from-to list in a wire harness drawing?
It is a table that defines every wire in the harness: its number, gauge, color, and the exact connector and pin at each end. Automated test equipment uses the same information to check the finished harness.
What software is used for wire harness design?
Teams use dedicated electrical CAD tools that generate the layout, connector tables, and wire list from one model, which keeps them consistent. Simple harnesses are still drawn in general CAD programs with the wire list kept in a spreadsheet.
Can a harness be built from a sample instead of a drawing?
Yes. A manufacturer can measure the sample, identify the components, and prepare a drawing for your approval. Approving that drawing before production protects both sides, because it becomes the reference for every future order.